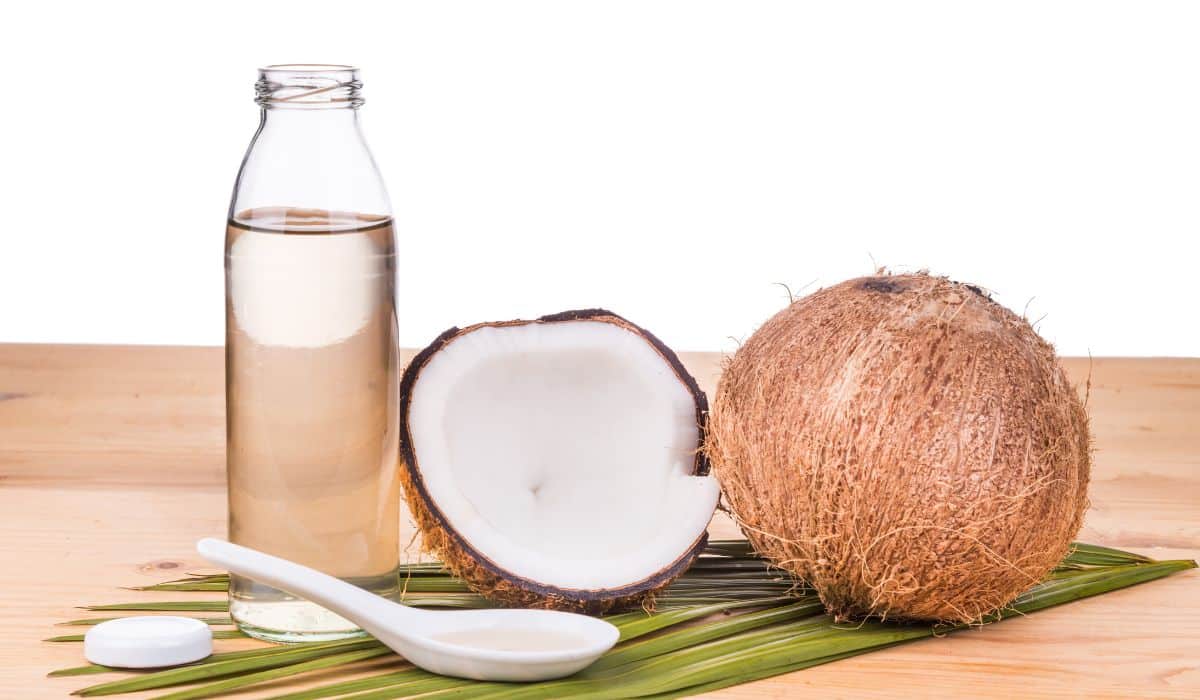
Coconut oil, olive oil and butter or clarified butter are delicious fats that are also healthy for you, but the real original Paleo fats are animal fats. I know that a lot of people following a Paleo diet end up consuming those fats only very rarely partly because they are harder to find, but also because more work needs to be done with them to obtain a pure fat to cook with. In other words, they need to be rendered.
The advantage of animal fats like tallow, lard or poultry fat is that they can be obtained very cheaply from your local butcher or farmer. With a little luck, you'll probably even find a farmer willing to give it to you for free. Of course, it's a good idea to try and get the fat from an animal that has been grass-fed and pastured. There is a lot of money to be saved there, especially when considering the rather high price of grass-fed butter, coconut oil and olive oil.
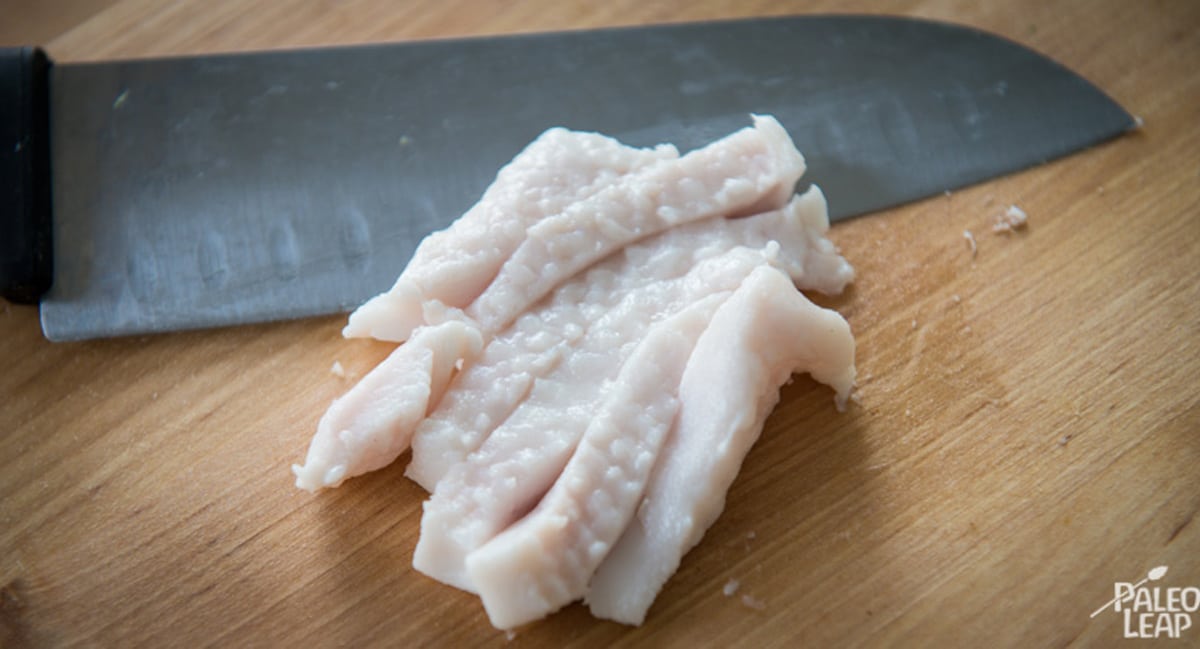
What you'll get from your butcher or farmer are pieces of hard fatty tissues that need to be rendered. In the case of beef or lamb fat, you'll get suet and render it to obtain tallow. Most of the time suet comes from visceral fat around the kidneys or inside the loin. In the case of pork, you'll get leaf or fatback lard and render it to obtain lard. Leaf lard doesn't have any pork flavor, while the fatback lard, which comes from between the back skin and the muscle meat of the pig has a subtle pork taste that can be nice for those who enjoy it.
There are two basic ways to render fat: dry rendering and wet rendering. Their names are pretty self explanatory and both methods are very similar. For any of those two methods, you can render fat either in a crock-pot, on the stove top or in an oven.
It's a good idea to render quite a bit of fat all at once because the whole process can take quite a bit of time. Doing it once to get some rendered fat that will last you for a long time before you need to do it again is a good idea. The highly saturated final product will stay good almost forever so don't worry about it going rancid.
Preparation of the fat
Whether you decide to wet or dry render your fat and whether you choose to do it on the stove, in a crock-pot or in the oven, you'll have to prepare the fat in the same manner.
First you need to trim off any pieces of flesh or muscle meat still attached to the fat as that would cause the fat to spoil. Cut off the pieces of fatty tissue into smaller chunks. It might take quite a bit of time to do it and the smaller the better. It's a good time to put on some nice music and empty your mind as your doing it. Some people like to place the fatty pieces in the freezer for a while so they can then be shredded in a food processor.
After you've removed any pieces of flesh and you've cut up the fat into small chunks, it's time to put it all in either your crock-pot, an oven proof pot, or in an heavy bottomed pot or dutch oven for the stove top.
I prefer wet rendering as it needs less monitoring and it's more delicate on the fat. I think I might have a crock-pot that runs a bit too hot and I've had bad experiences where I've ended up having a fat with a burned taste, so I now only do the wet rendering method. The only disadvantage is that it'll take longer to render and you'll need to do another step to get rid of the water at the end.
Rendering the fat
For slow cooker - Place the fat in a slow cooker amd set the temperature to low, letting it go for a few hours, stirring from time to time. Clear fat will start to render out of the fatty tissues.
For stove top - Set the burner on low. Place the fat in a saucepan with a lid and monitor the fat, stirring occasionally so the cracklings don’t burn.
For oven - Set the oven at 250oF. Place the fat in an oven proof pan with a lid and stir occasionally.
It's ready when you end up having small, dry looking and browned fatty cracklings in a bath of clear fat. Strain the fat in a fine mesh strainer to separate the cracklings from the rendered fat. It might prove useful to place a piece of cheese cloth in the strainer to retain some of the smaller bits as well. Be really careful with that step as hot fat can burn your skin very badly, much more so than hot liquid.
When dry rendering, you can keep the browned cracklings and use them as a snack later on if you want.
The total time it will take really depends on the amount of fat being rendered, the temperature and the size of the fat chunks.
Wet rendering
If you decide to do the wet rendering instead, simply put some water in the pot with the fat chunks. The amount of water doesn't really matter. Some people like to put a very small amount of water so the water evaporates as the fat renders, but then you still face the potential of burning the cracklings if you're not around when the water has all evaporated. What I like to do is put quite a bit of water and let it go for a much longer time, but at the same temperature that I would do a dry render.
It's ready when you get a feel that most of the fatty tissue chunks have given up their fat content. You might end up with a bit less rendered fat with the wet rendering method because you won't end up with dry cracklings. When it's ready you can strain it like you would do with dry rendering, then place it in the refrigerator to harden. Once hard, break it up so you can reach and drain the small amount of water that will be on the bottom of the jar.
In conclusion, whether you decide to render beef, lamb, pork or duck fat, and whether you do it with some water or not, you should end up with a delicious, pure and creamy white fat that will taste great and that will be excellent for all your cooking needs.

Leave a Reply